How To Set Up and Configure a GPT Deployment Using the Azure OpenAI Service
Published Jun 16 2023 08:00 AM 12.9K Views


1. Navigate to https://portal.azure.com

2. Log in to / select your account, if necessary.

Screenshot of: Log in to / select your account, if necessary.

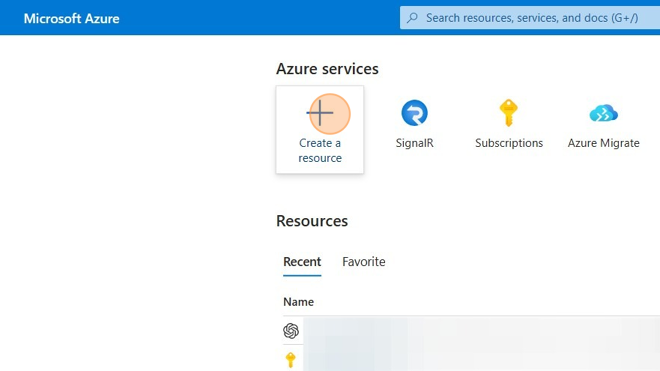
3. Click "Create a resource" on the Azure dashboard.

Screenshot of: Click "Create a resource" on the Azure dashboard.

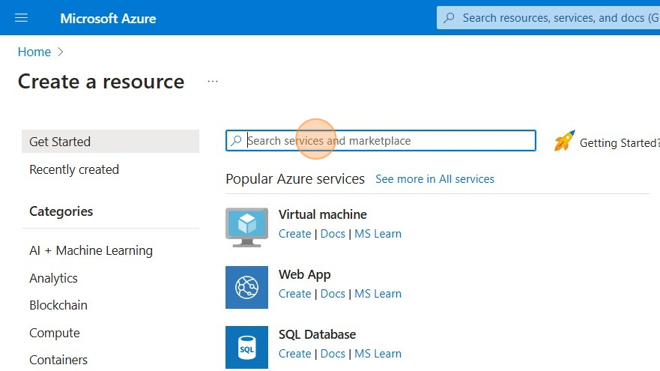
4. Click the "Search services and marketplace" search box.
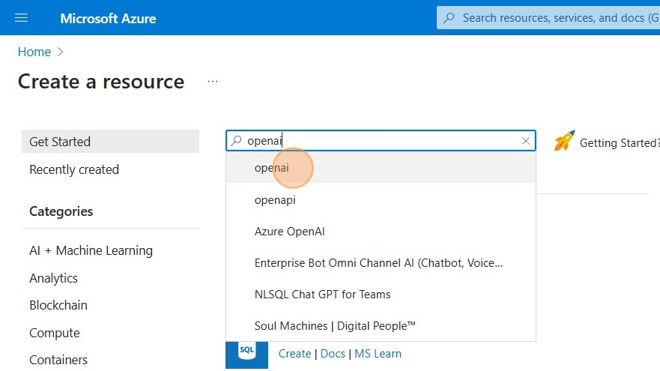
Screenshot of: Click the "Search services and marketplace" search box.

5. Type "openai"

6. Select "openai"

Screenshot of: Select "openai"

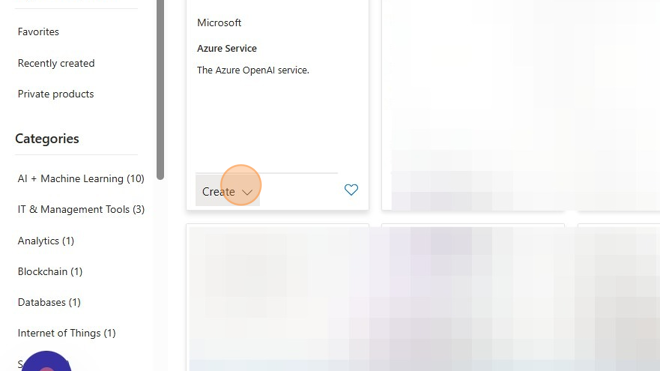
7. Click "Create" in the Azure OpenAI service tile.

Screenshot of: Click "Create" in the Azure OpenAI service tile.

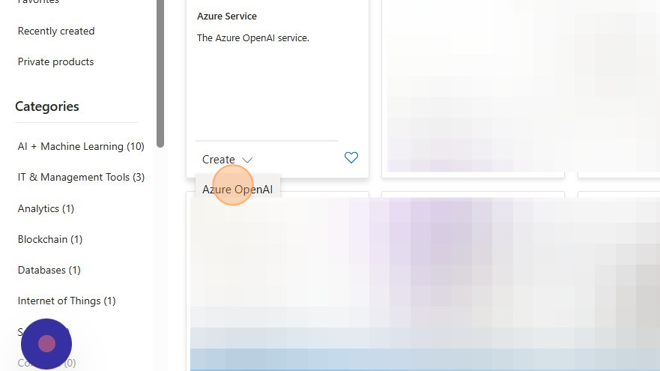
8. Click "Azure OpenAI."

Screenshot of: Click "Azure OpenAI."

9. Select a subscription, and select an existing Resource Group, or click "Create new" to create a new resource group.

Screenshot of: Select a subscription, and select an existing Resource Group, or click "Create new" to create a new resource group.

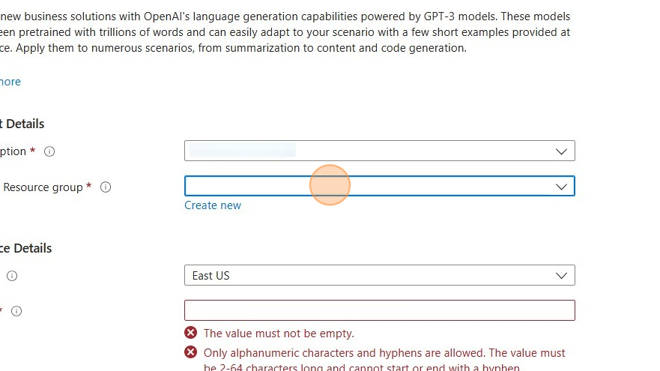
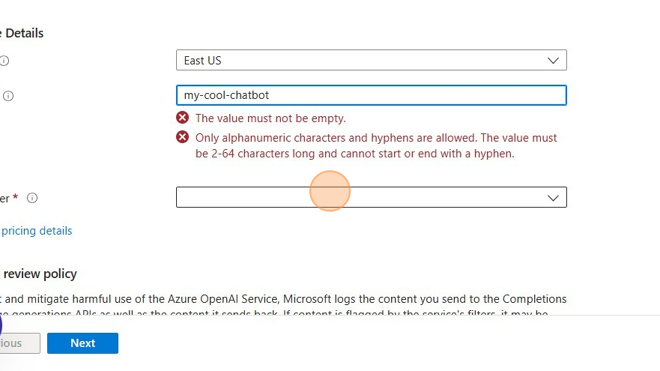
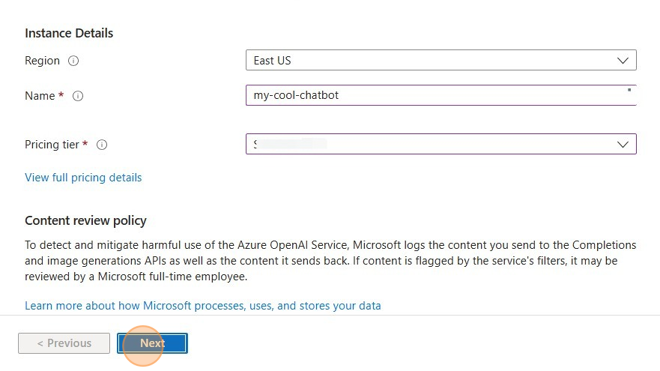
10. Enter a name for your Azure OpenAI instance per the instructions shown.

Screenshot of: Enter a name for your Azure OpenAI instance per the instructions shown.

11. Select an appropriate pricing tier. You can view full pricing details via the link under the selection.

Screenshot of: Select an appropriate pricing tier. You can view full pricing details via the link under the selection.

12. Review the content review policy and other information, then click the "Next" button to move through the "Network" and "Tags" tabs. The default values are usually OK for most basic configurations.

Screenshot of: Review the content review policy and other information, then click the "Next" button to move through the "Network" and "Tags" tabs. The default values are usually OK for most basic configurations.

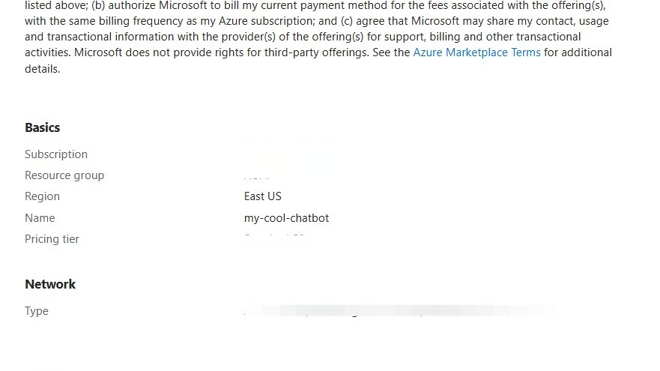
13. Review the terms and configuration and click the "Create" button.

Screenshot of: Review the terms and configuration and click the "Create" button.

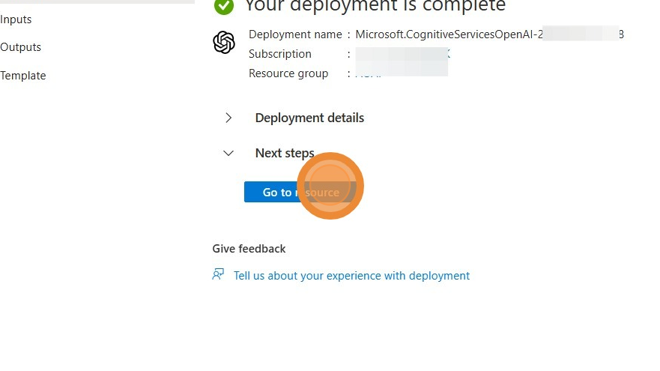
14. The deployment will take a little while to complete. If it is successful, the "Go to resource" button will appear. Click the button.

Screenshot of: The deployment will take a little while to complete. If it is successful, the "Go to resource" button will appear. Click the button.

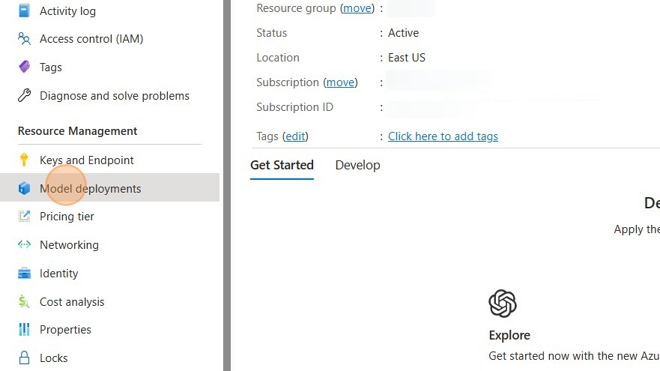
15. From the Azure OpenAI Service resource view, click "Model deployments" under the "Resource Management" group.

Screenshot of: From the Azure OpenAI Service resource view, click "Model deployments" under the "Resource Management" group.

16. Click the "Manage Deployments" button.

Screenshot of: Click the "Manage Deployments" button.

17. You will be redirected to Azure OpenAI Studio. When you get there, you may be prompted to select the Azure Active Directory and Subscription that your resource was created in. If so, set them appropriately. You will then be able to select the resource that you created in the previous steps.

Screenshot of: You will be redirected to Azure OpenAI Studio. When you get there, you may be prompted to select the Azure Active Directory and Subscription that your resource was created in. If so, set them appropriately. You will then be able to select the resource that you created in the previous steps.

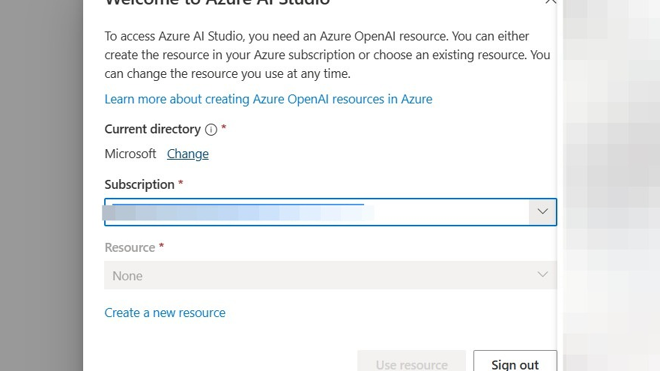
18. Select the resource created in the previous steps.

Screenshot of: Select the resource created in the previous steps.

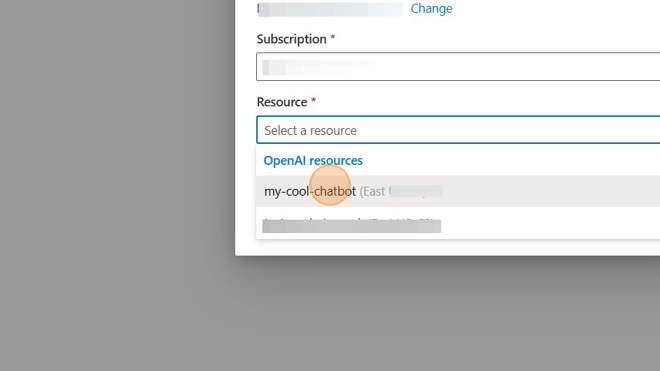
19. Click "Use resource"

Screenshot of: Click "Use resource"

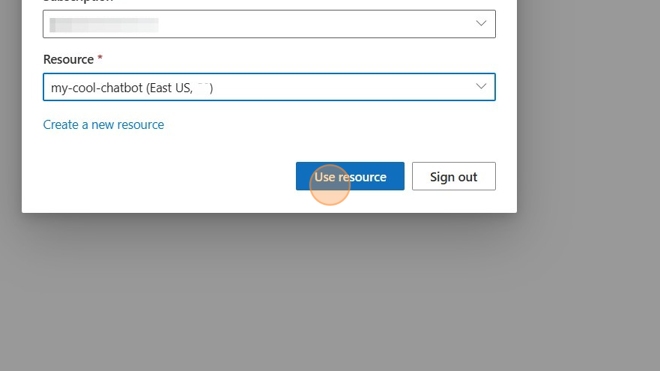
20. Click "Deployments" from the "Management" section.

Screenshot of: Click "Deployments" from the "Management" section.

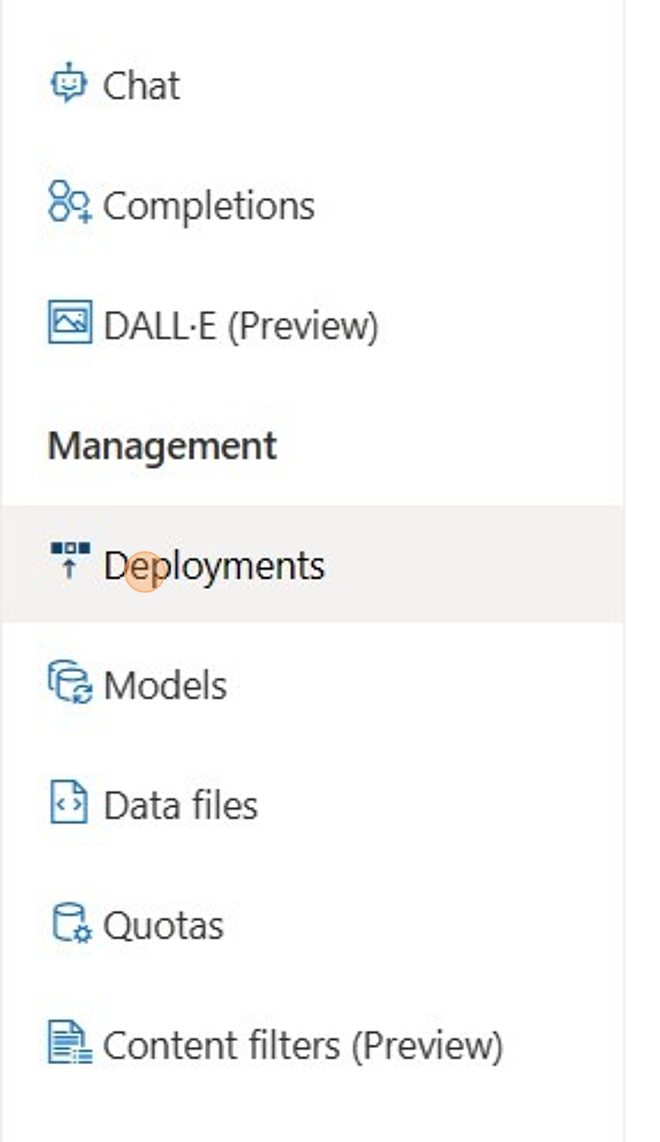
21. Click "Create new deployment"

Screenshot of: Click "Create new deployment"

22. Click the "Select a model" field.

Screenshot of: Click the "Select a model" field.

23. Select the model to use. For our chatbot, we will choose the "gpt-35-turbo" model. Other models may be available to you.

Screenshot of: Select the model to use. For our chatbot, we will choose the "gpt-35-turbo" model. Other models may be available to you.

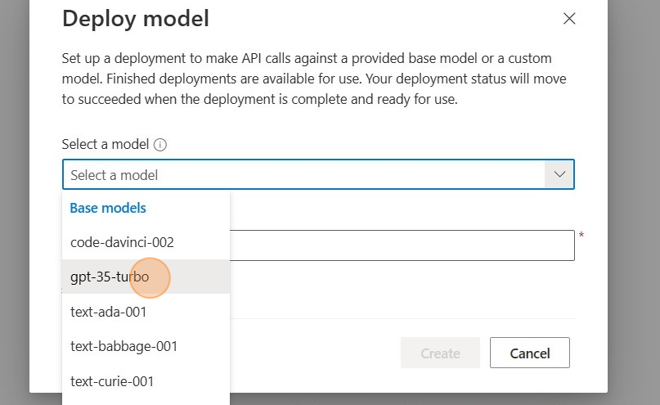
24. Give the deployment a name, then click the "Create" button.

Screenshot of: Give the deployment a name, then click the "Create" button.

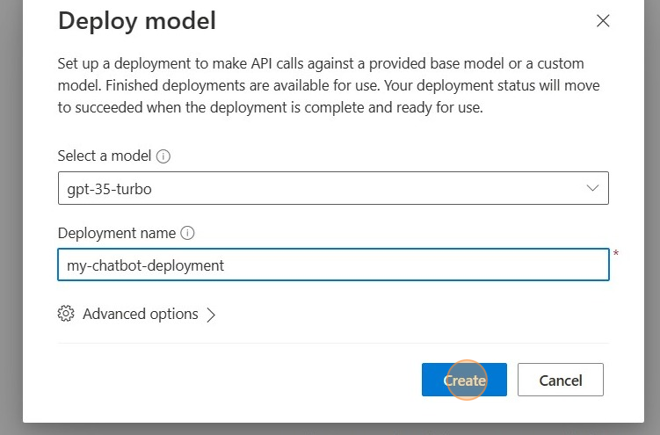
25. Your configuration is complete!


Version history
Last update:
‎Jun 16 2023 07:47 AM
Updated by: